DIY Shoe Goo Sole Protection Tips for Sneakers
A practical DIY guide to using Shoe-V or Shoe Goo-style sole protection on Dior Oblique sneakers and Golden Goose shoes, with product choice, application tips, drying time, and ventilation notes.
Hi, this is Ijjingne. Today I brought some Shoe Goo-style tips. If a pair of shoes is not meant to be worn roughly, I usually protect the soles. The old layer had peeled off quite a bit, so I removed it and planned to apply a new one. When I use this method, it lasts about a year for me and the outsole stays in good shape.
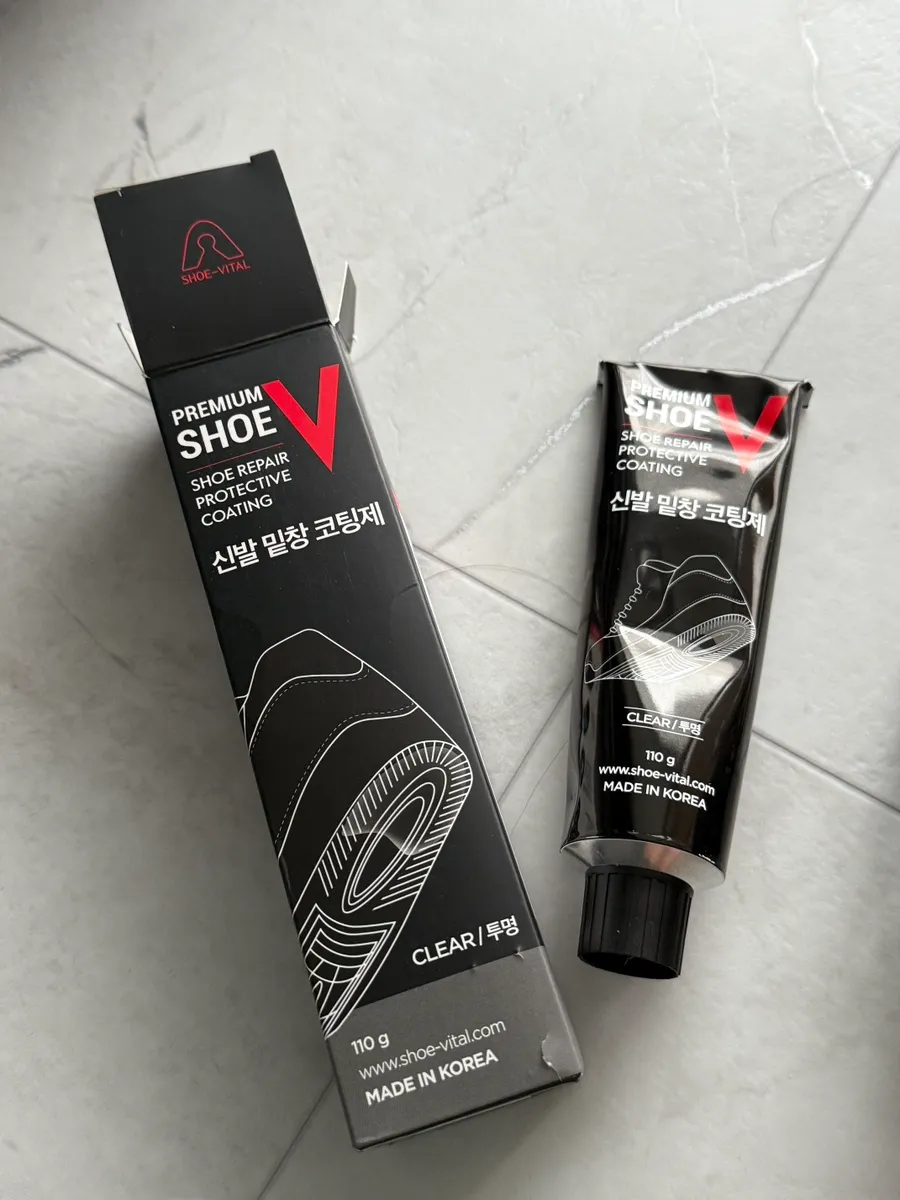
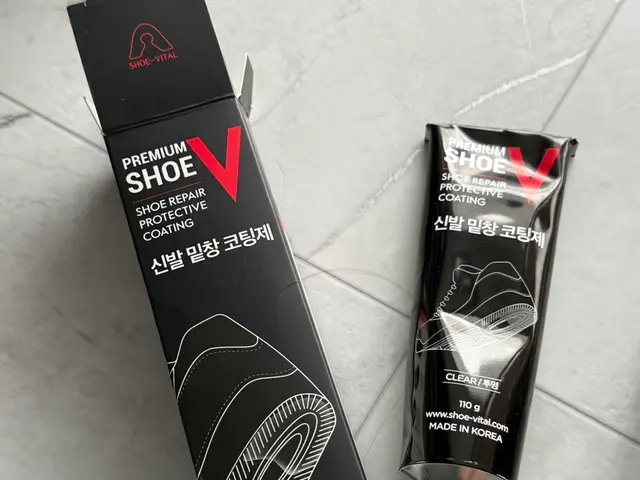
The product I used is Shoe-V. I have tried original Shoe Goo, Shoe-V, and a Daiso silicone-type product. The Daiso product was not for me. I settled on Shoe-V because, to me, it did not feel very different from original Shoe Goo and was cheaper. The Daiso product did serve a similar purpose, but it did not last well, tore apart like crumbs when removed, and left residue, so removing it was difficult. If you want a budget option, the reviewer recommends investing around 10,000 won in Shoe-V rather than using the Daiso product.
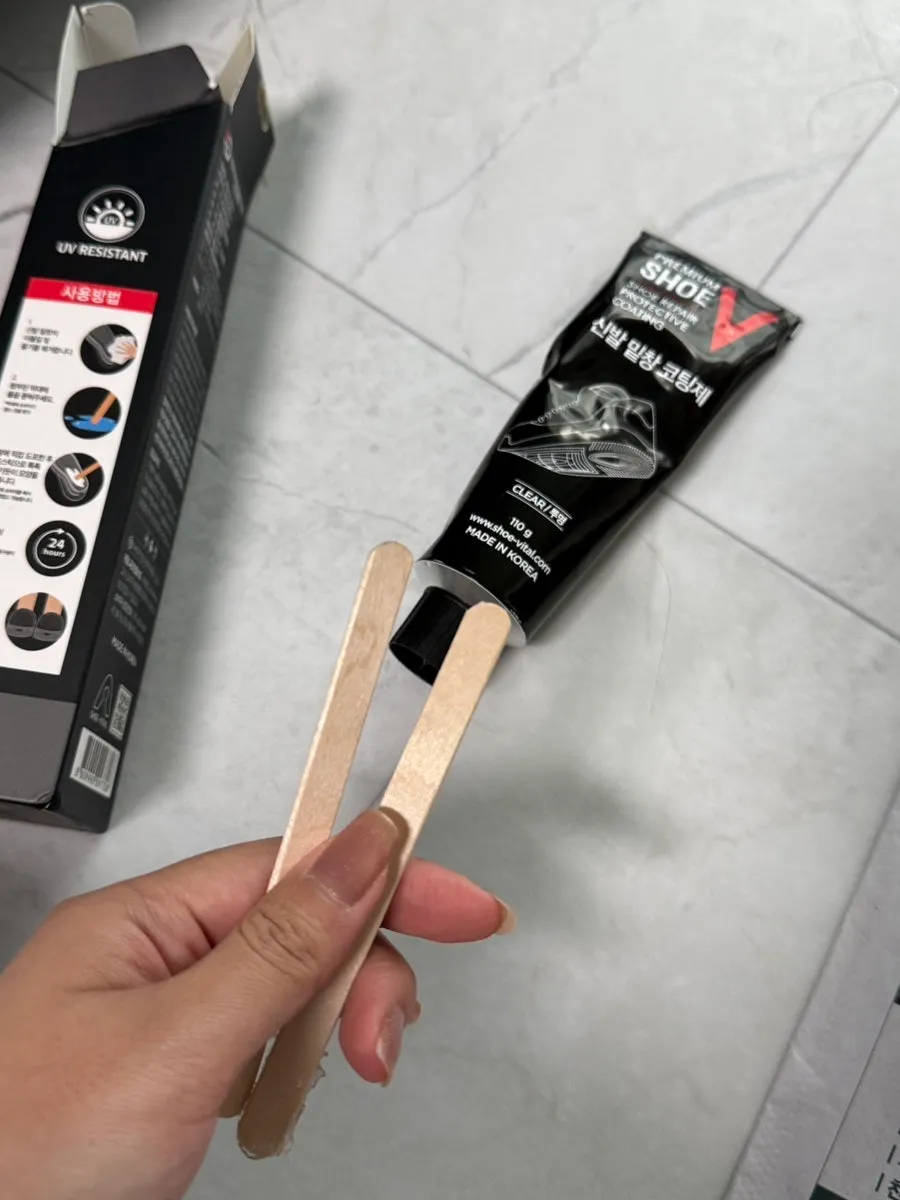
I bought it on Coupang, and the source says it was in the 10,000 won range. The 110g size gives a generous amount and includes two sticks. I do not coat the entire shoe sole; I only apply it in separated sections at the top and bottom. With one tube, the reviewer says they can do about five or six applications. Even without covering the whole sole, it is enough for protection, so applying only selected sections is more cost-efficient.
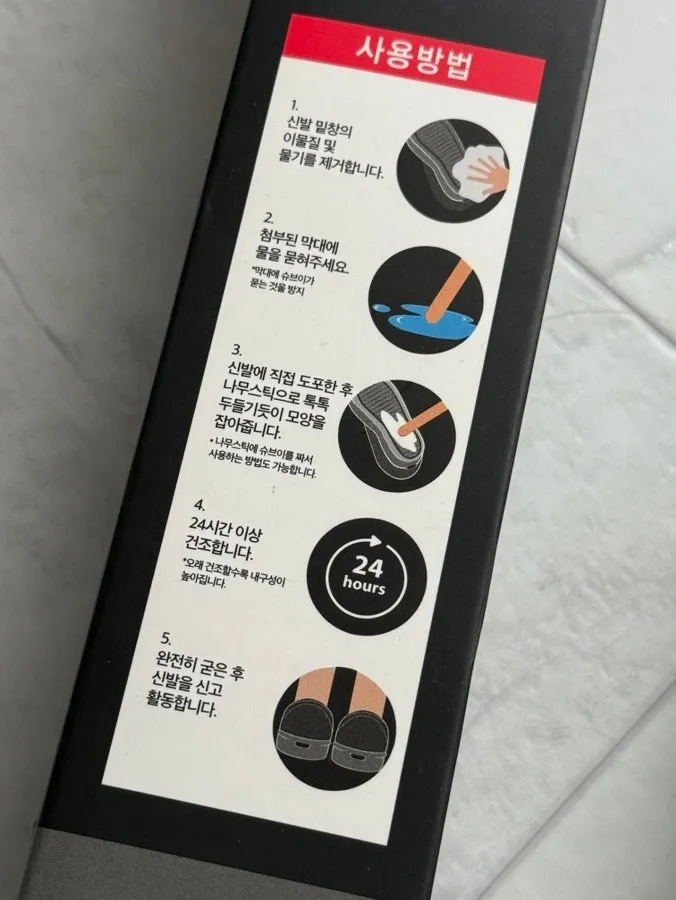
Even with new shoes, wipe the soles once and let them dry because dust or residue can be there. This helps adhesion. The instructions say to wet the wooden stick, but I used it dry because shaping was easier that way. Apply it well, dry it on a flat surface, and open a door before starting because the glue smell is strong.
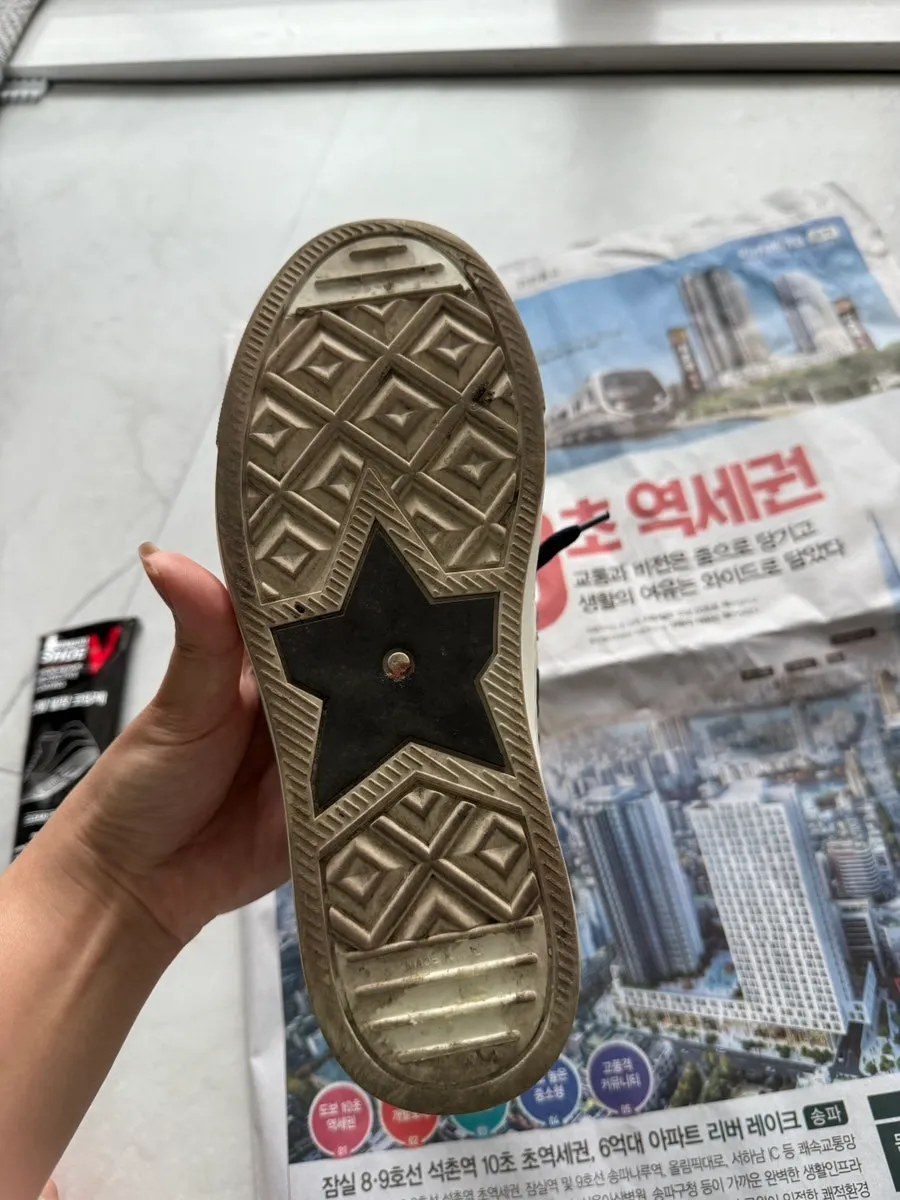
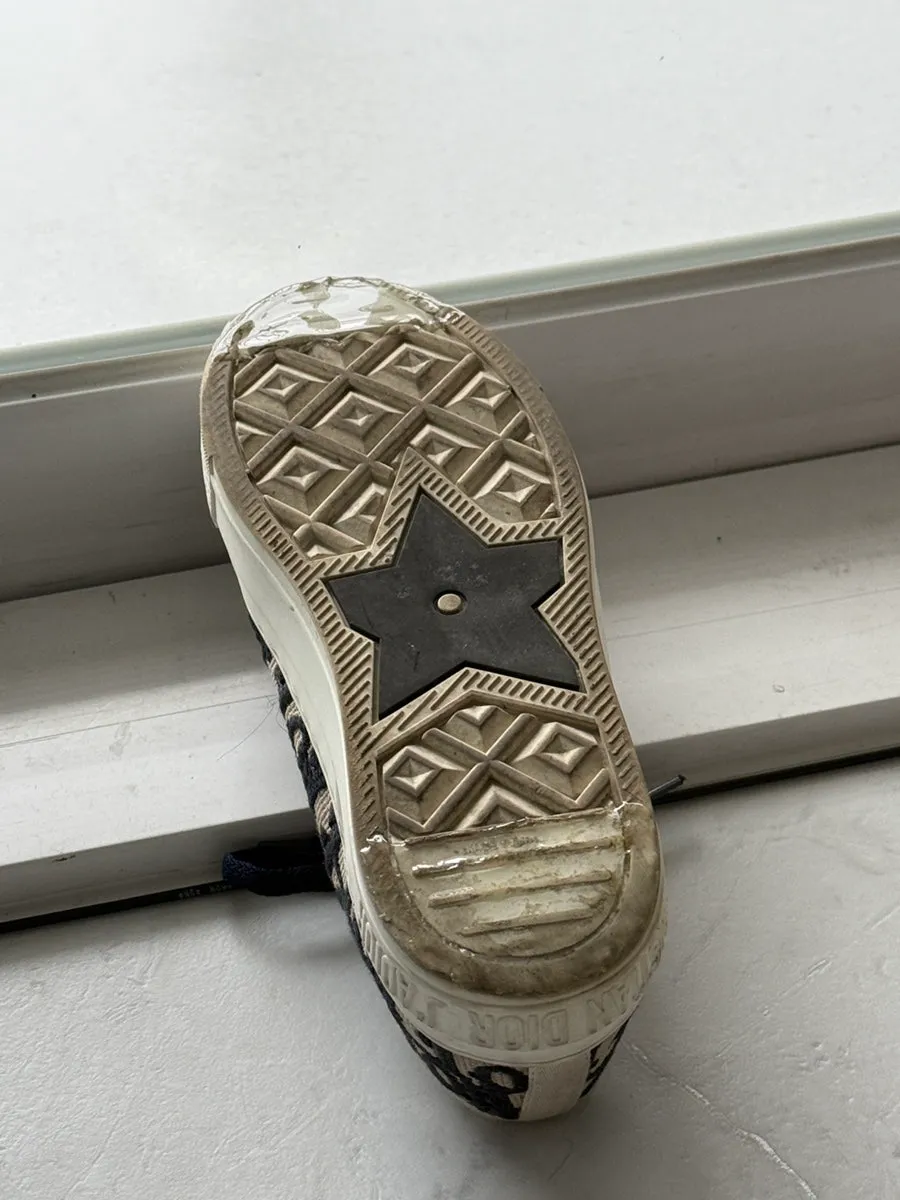
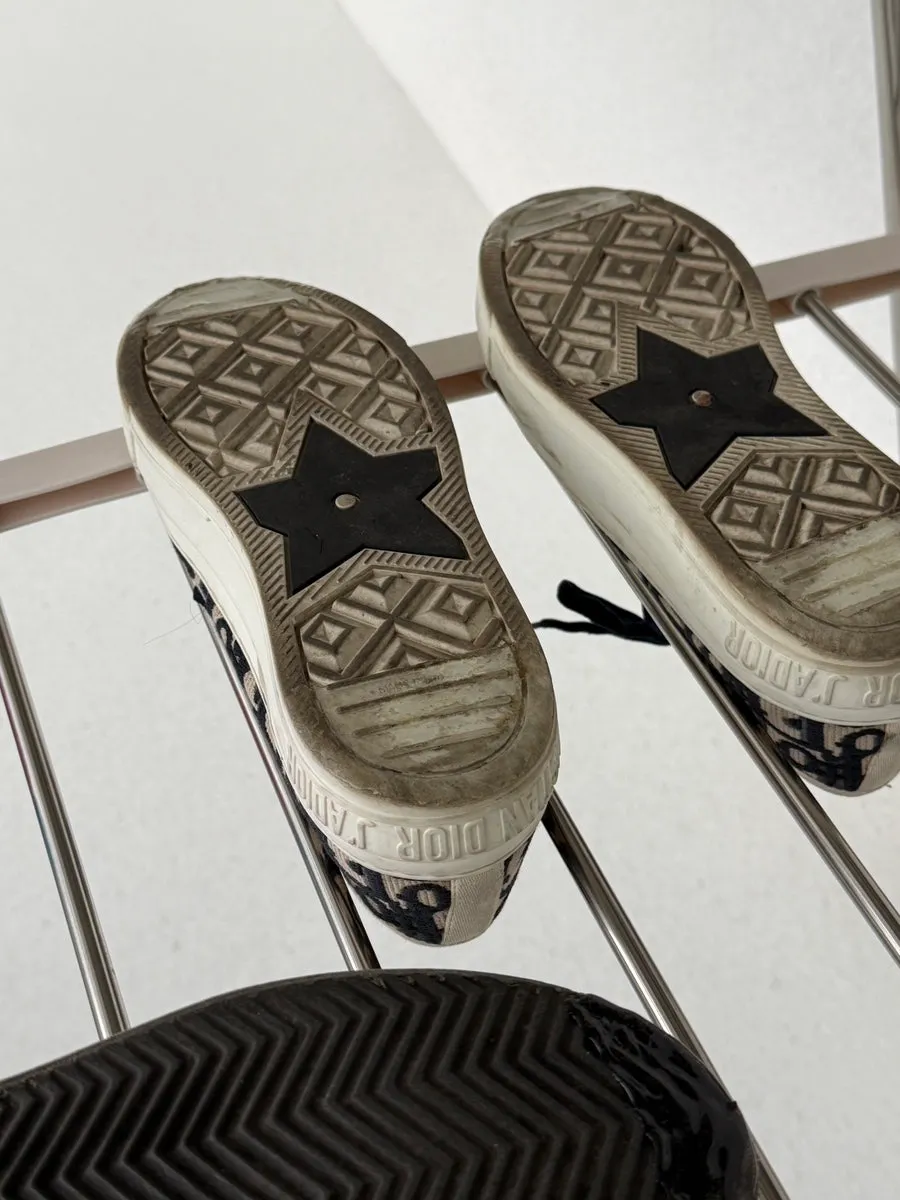
I started with my Dior sneakers. Looking at them now, I have worn them for about two years, and I wore them fairly casually. Still, because I protected the soles from the start, they look clean. Dior sneakers are known for wearing down like an eraser, so sole protection is a must. As shown in the source photos, I only apply it to the white sections at the top and bottom.
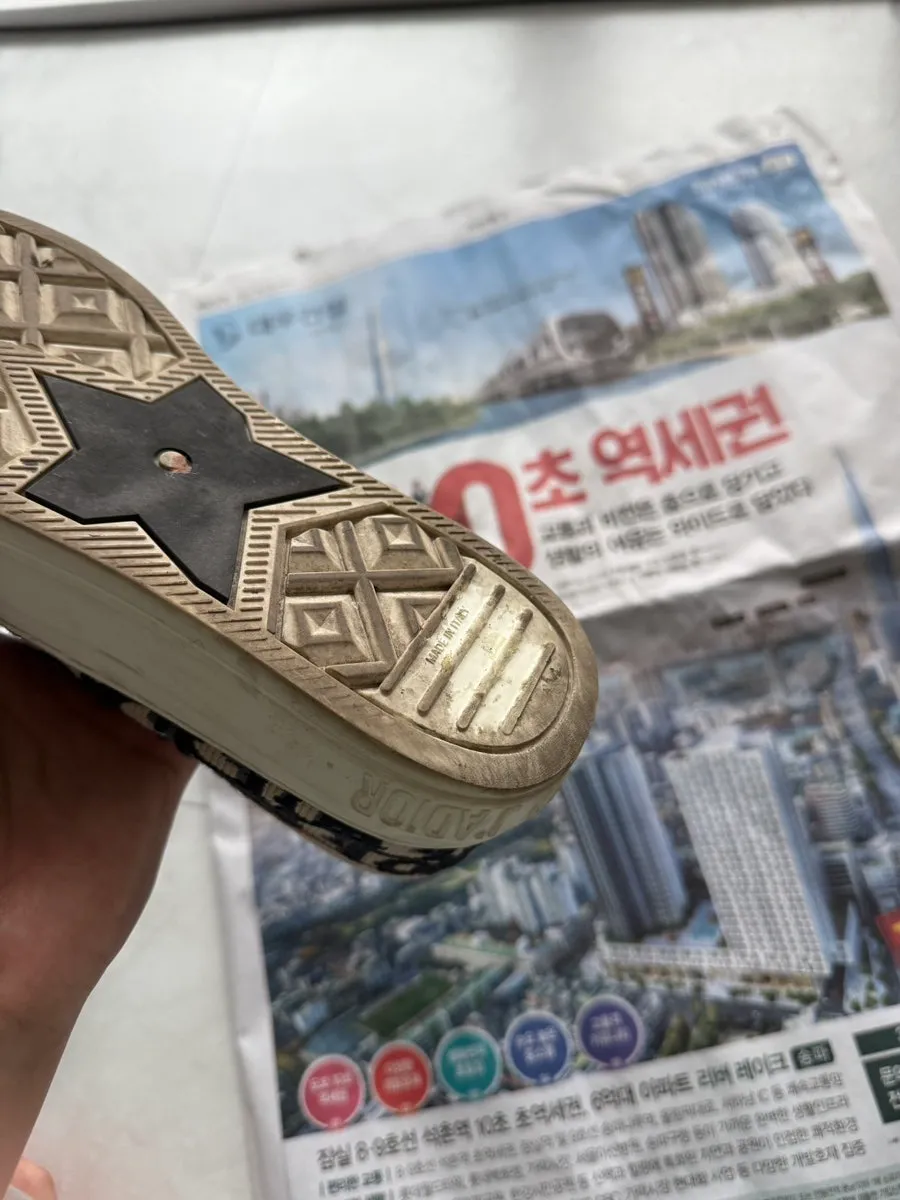
The center can get dirty, but the outsole itself has not worn down. You can still see all the diagonal patterning.
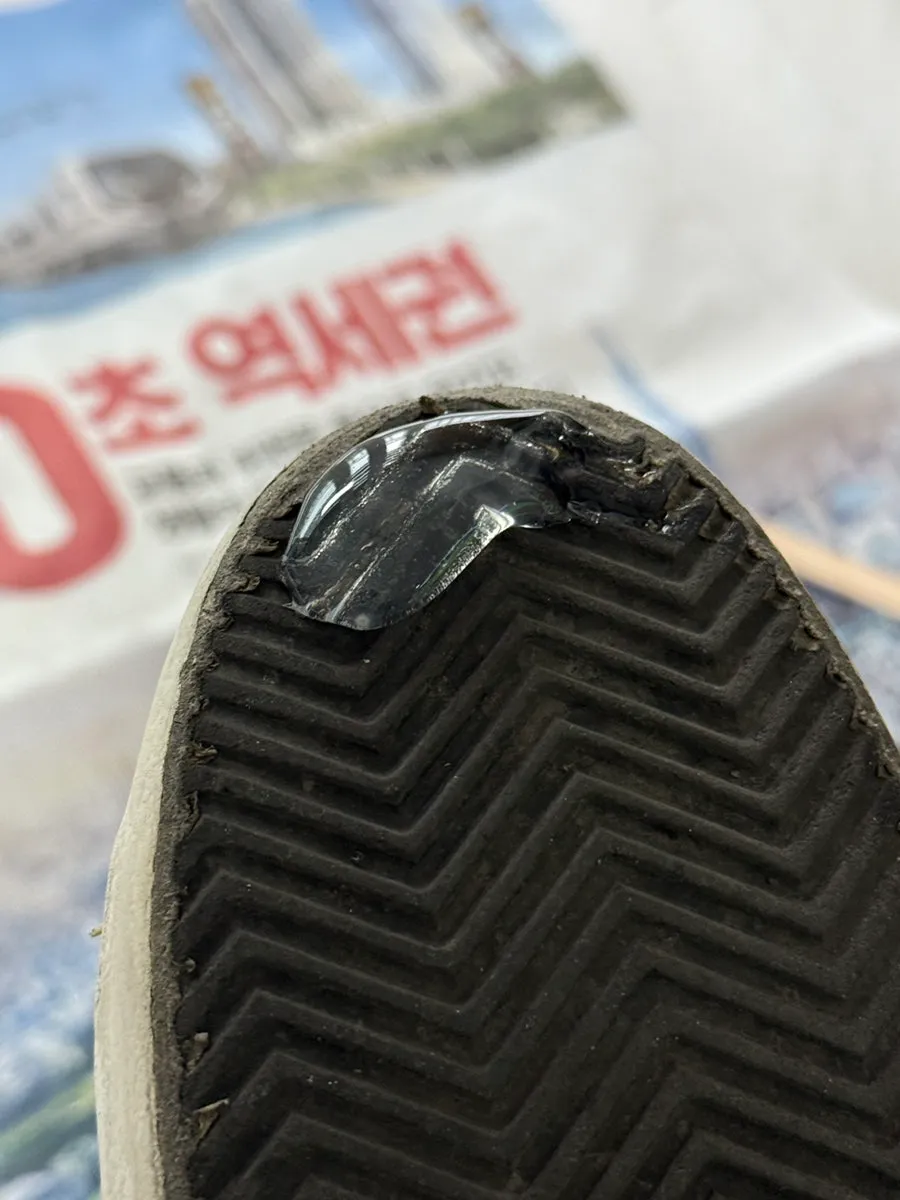
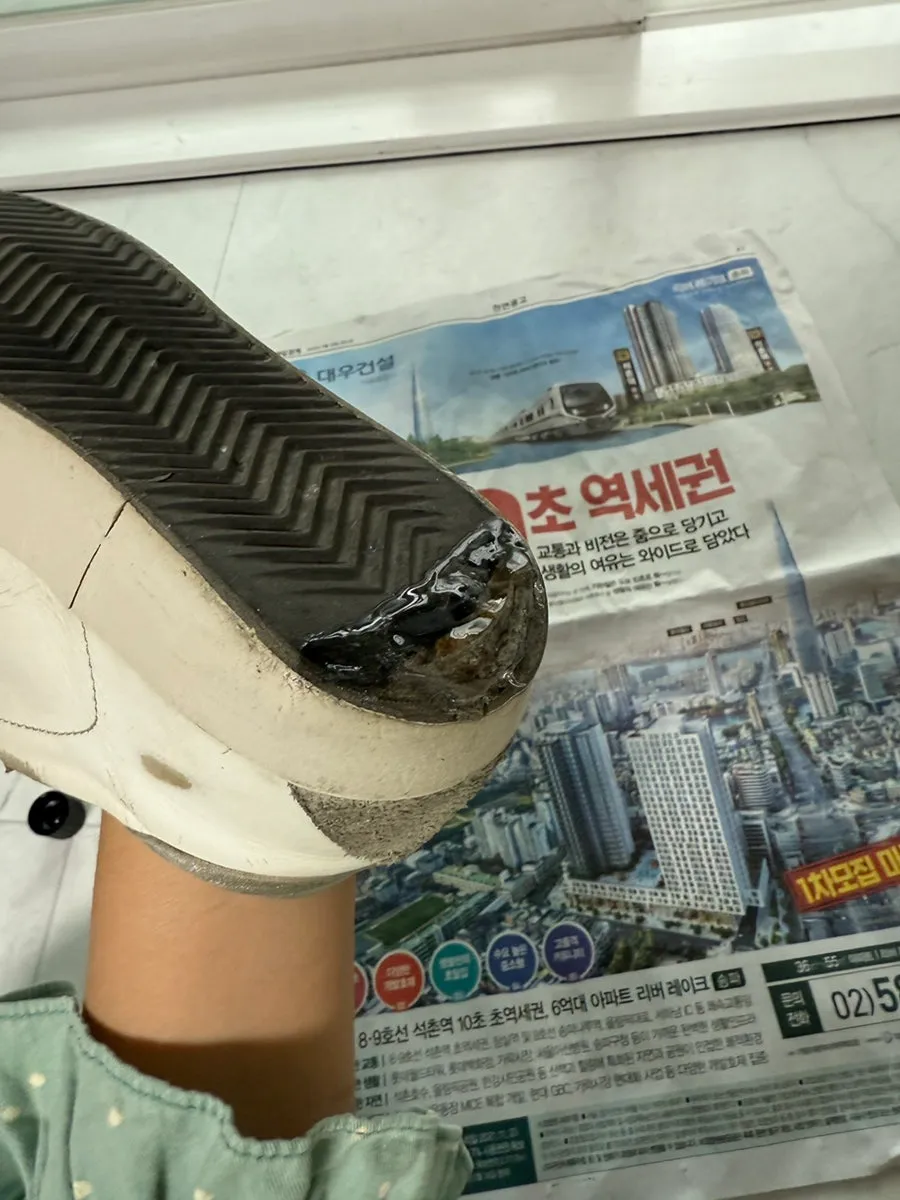
Squeeze out a moderate amount and spread it with the wooden stick. If you go too close to the edge, it can flow over, so spread it lightly near the ends and adjust the amount little by little. If the layer is too thick, it can feel uncomfortable when walking. My preferred method is to apply a thin layer, wear it for about a year, remove it when it has worn down, and reapply. Even if it looks uneven, it flattens somewhat as it dries, so do not worry too much.
Next was Golden Goose. These are also famous for soles that wear down quickly. I applied it the same way, only to the top and bottom. I have two pairs of Golden Goose shoes, and comparing them showed that the upper section was slightly lifted from the start, so coating that area worked well. The source again emphasizes not applying too much because it becomes uncomfortable.
If you wear them without sole protection, the outsole can wear down badly. The example in the source was the reviewer’s mother’s shoe, whose heel rubber had almost worn away.
After applying it well, dry it for 24 hours before wearing, according to the instructions. I personally let it harden for 2 to 3 days. The source says longer curing improves durability, though it already gets hard after one day. The reviewer’s drying tip is to use a laundry drying rack: turn the shoes over and lightly place the ankle and instep parts on the rack so the angle can be adjusted and the sole dries flat. Drying on a balcony is recommended, with the door slightly open.
Comments 0
More content
- Hwadam Forest in May: Monorail and Reservation TipsA spring visit to Hwadam Forest beside Gonjiam Resort, with notes on Yanolja reservations, monorail timing, parking, rest areas, photo spots, and an easy walking course.05/04/2026
- Fresh Tuna at Chamchiwang Kwon Tae-yoon in Gunpo SanbonA Sanbon Station Rodeo Street review of Chamchiwang Kwon Tae-yoon, where fresh, not frozen, tuna is sliced right away. Includes hours, seating, parking notes, and the Geumjandi 55,000 won course.04/28/2026

- Gichatgil Yeop Pojangmacha Anyang: Gwanak Station Outdoor PubA first visit to Gichatgil Yeop Pojangmacha in front of Gwanak Station Exit 2 in Anyang, with outdoor seating, Friday queues, mussel soup and spicy chicken feet.04/22/2026