CELINE Inner Bag DIY Pattern and Felt Review
A practical CELINE vanity inner-bag DIY review using felt, ruler, pen, thread, needle, and scissors, with a 1 cm smaller pattern, brown thread, simple sewing, and a 30-minute handmade result.
Hello, this is Ijjingne. Today I finally put into action the CELINE inner-bag DIY project that I had only been thinking about for a while.
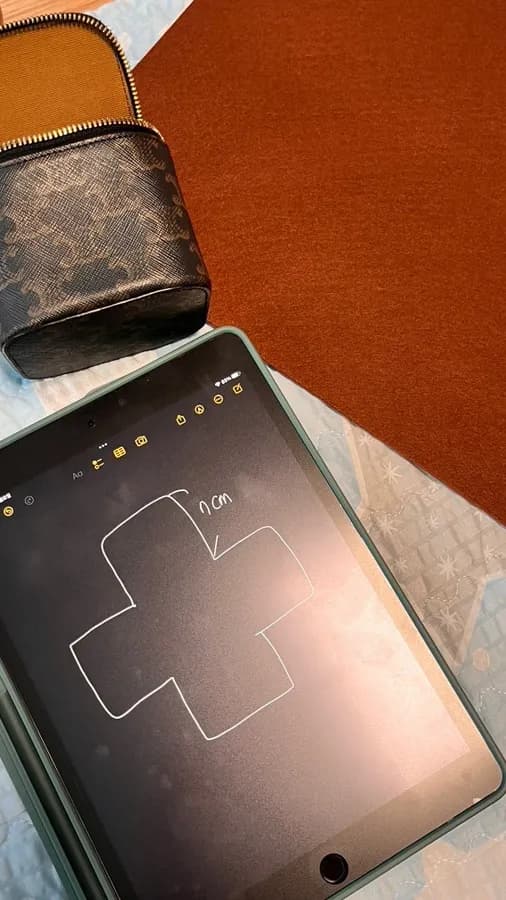
After finishing it, I wondered why I had waited so long. After using the bag for 7 months, the inside had already gotten a little stained. And making the inner bag took only 30 minutes. It was a very funny but sad moment, like I should have done it earlier.
The materials you need are really simple: felt, a ruler, a pen, thread, a needle, and scissors. A felt sheet was sold for 1,000 KRW at a stationery store near my home. I bought 3 sheets just in case, but because my CELINE vanity is small, one sheet was completely enough.
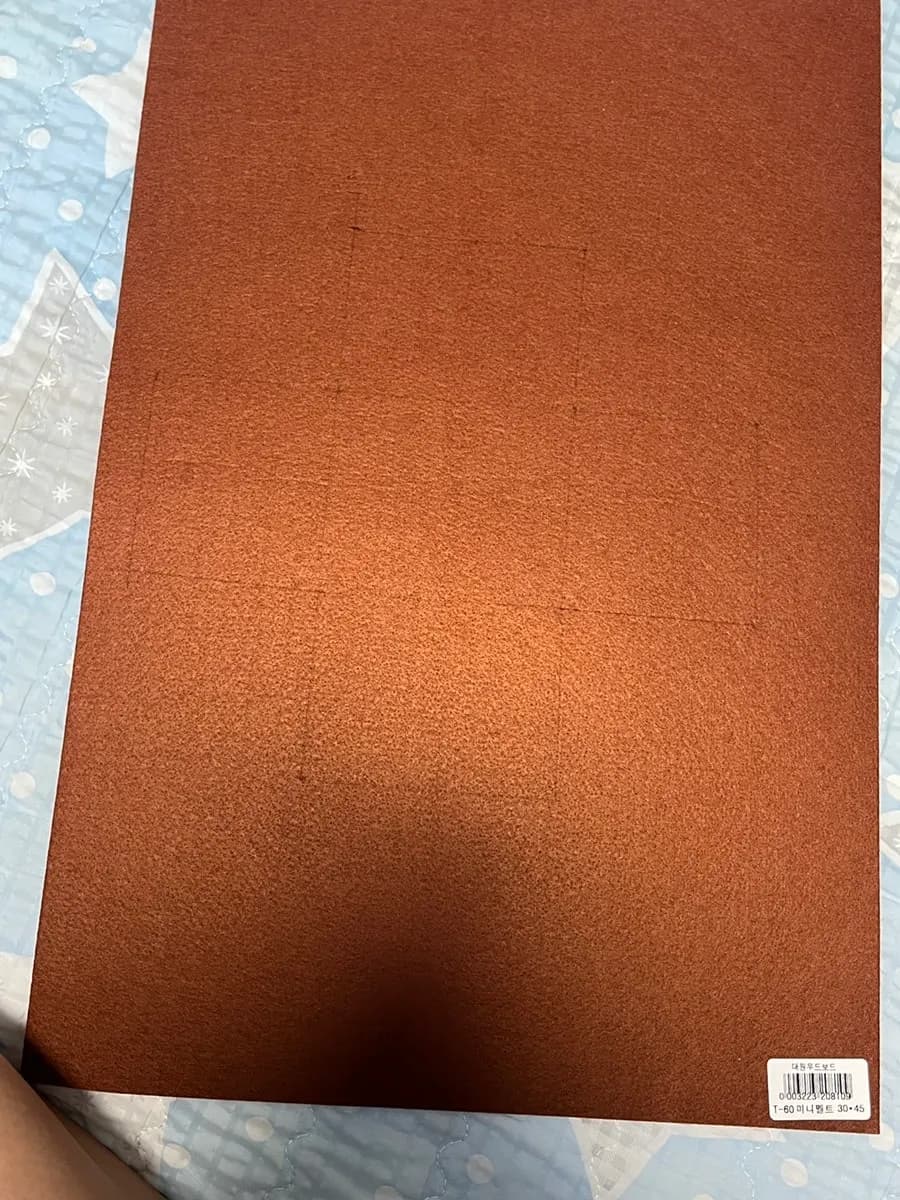
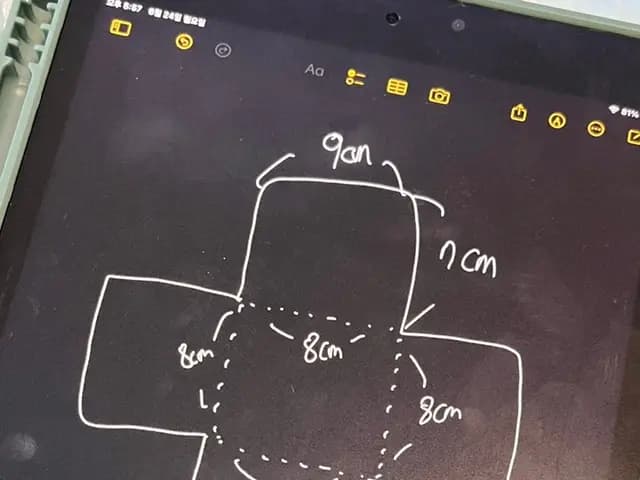
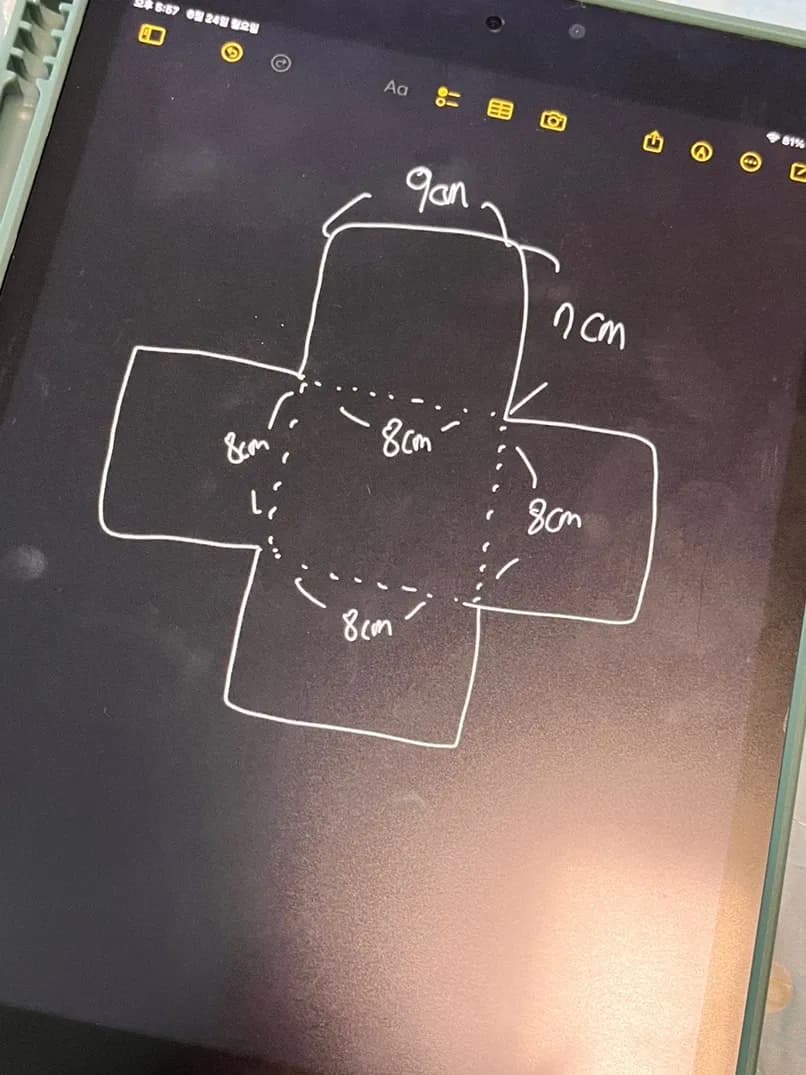
Once you have the materials, first use the ruler to measure the bag's width, depth, and height. My bag is square, so drawing the pattern was easy, but rectangular or bucket-shaped bags are not difficult either. Just draw the pattern the same way, cut it, and make it. For the pattern, I drew every side 1 cm smaller than the actual bag size. If you make it exactly the same as the bag length, of course it will not fit inside. Please forgive my drawing skills, but even someone clumsy like me can make this inner bag in 30 minutes.
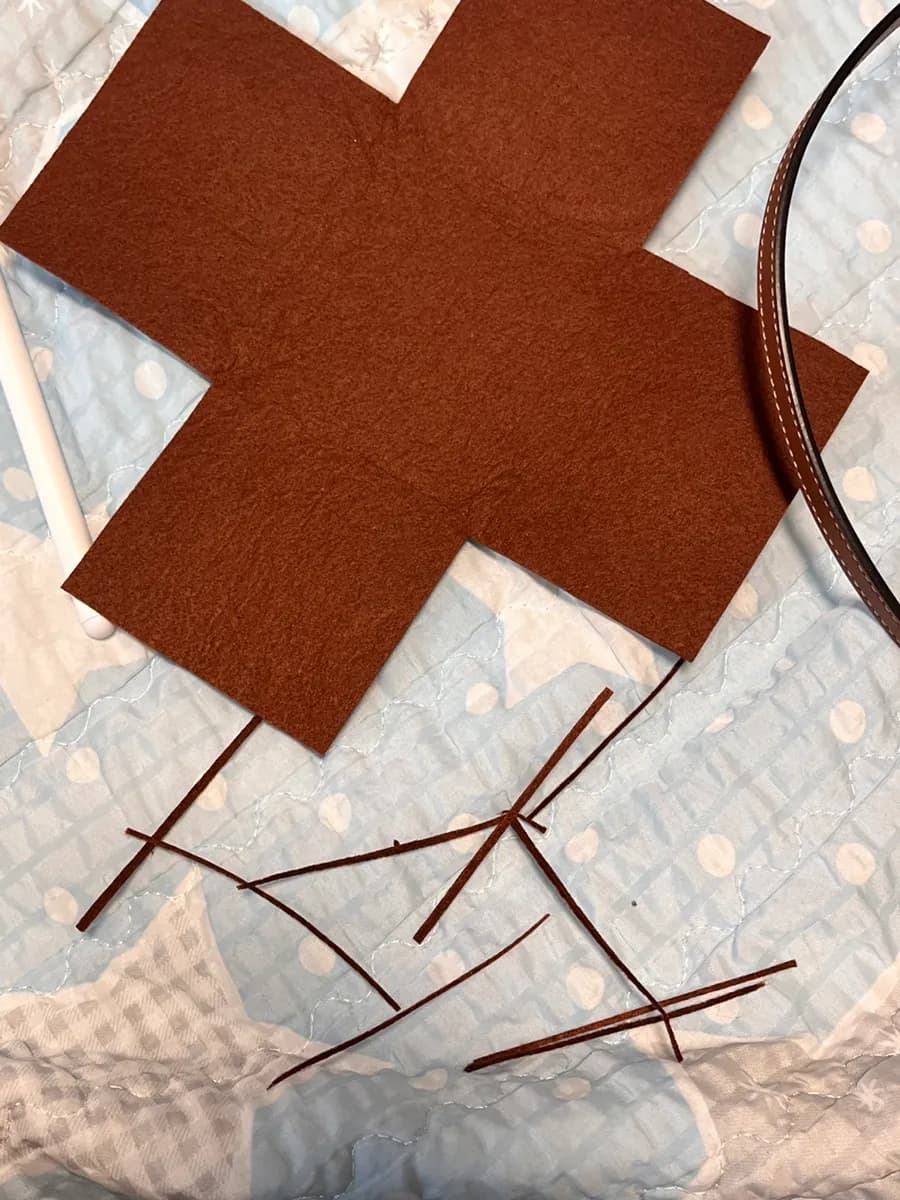
After cutting along the pattern, that part is done. Then find thread similar to the color of the inner bag. Mine was brown, so I used brown thread. It does not have to match exactly; if the color is similar, it does not really show.
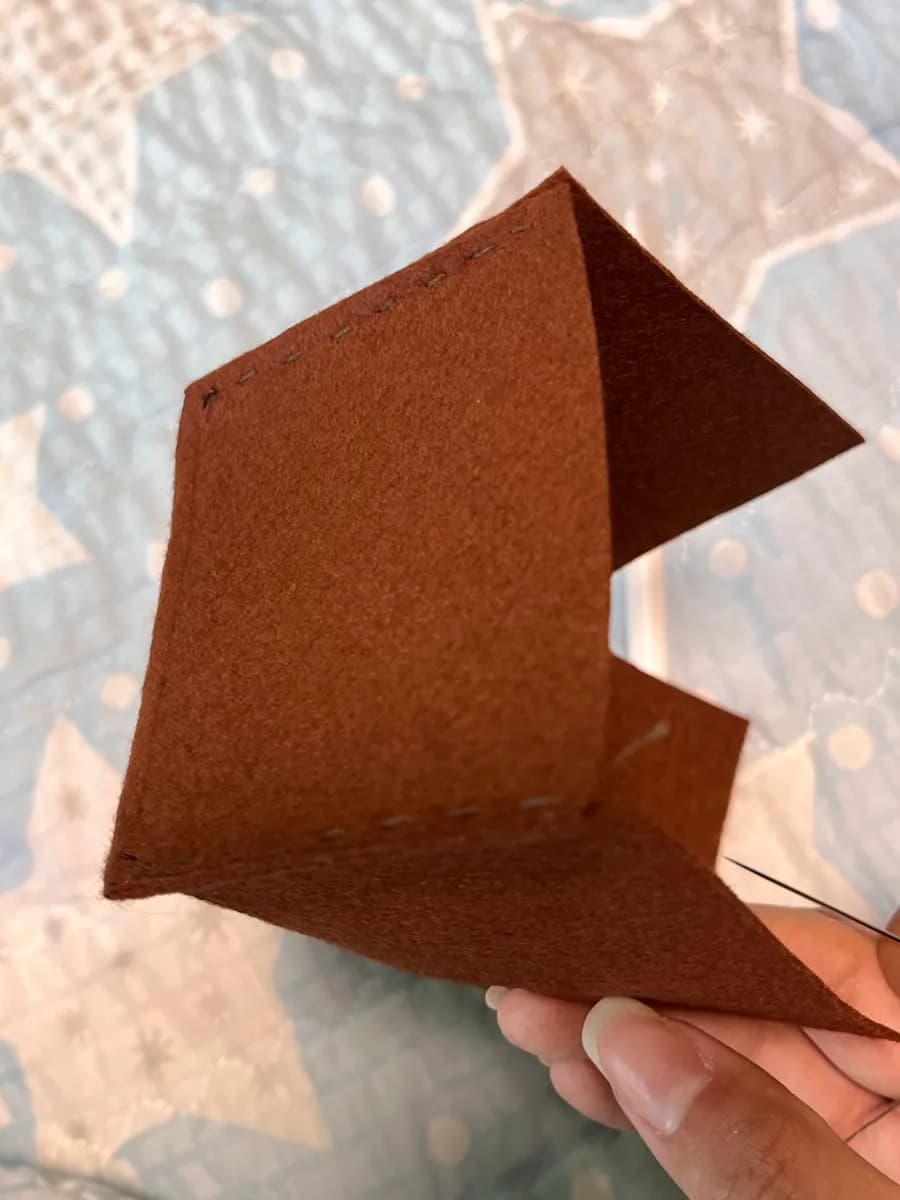
Cut it carefully and start sewing. You only need to fold and stitch the four sides, so it goes quickly. My sewing was awkward, but I worked through it step by step.
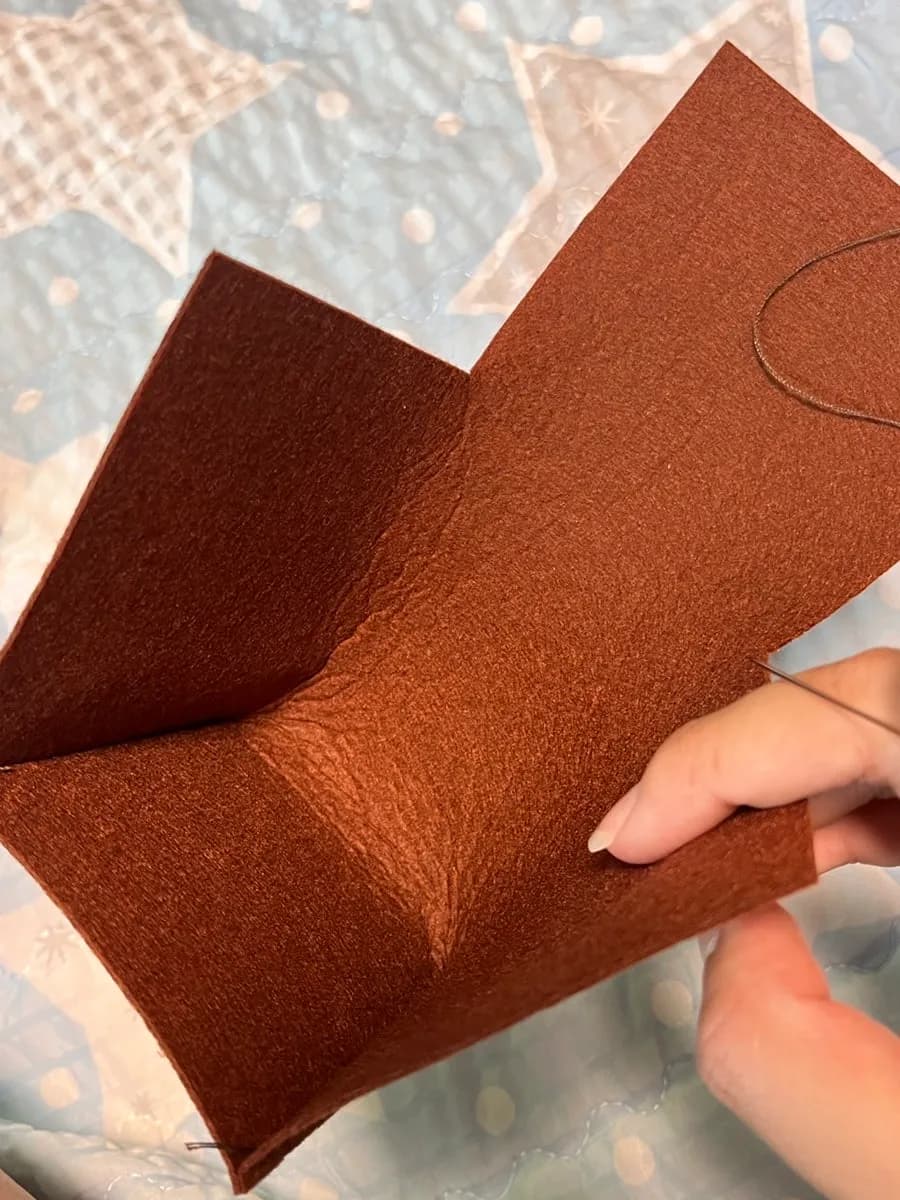
Once you close it up like this, the cute inner bag is finished. I recommend using felt rather than nonwoven fabric. They are similar materials, but felt feels a little softer. Nonwoven fabric was stiff, so the shape looked a bit odd.
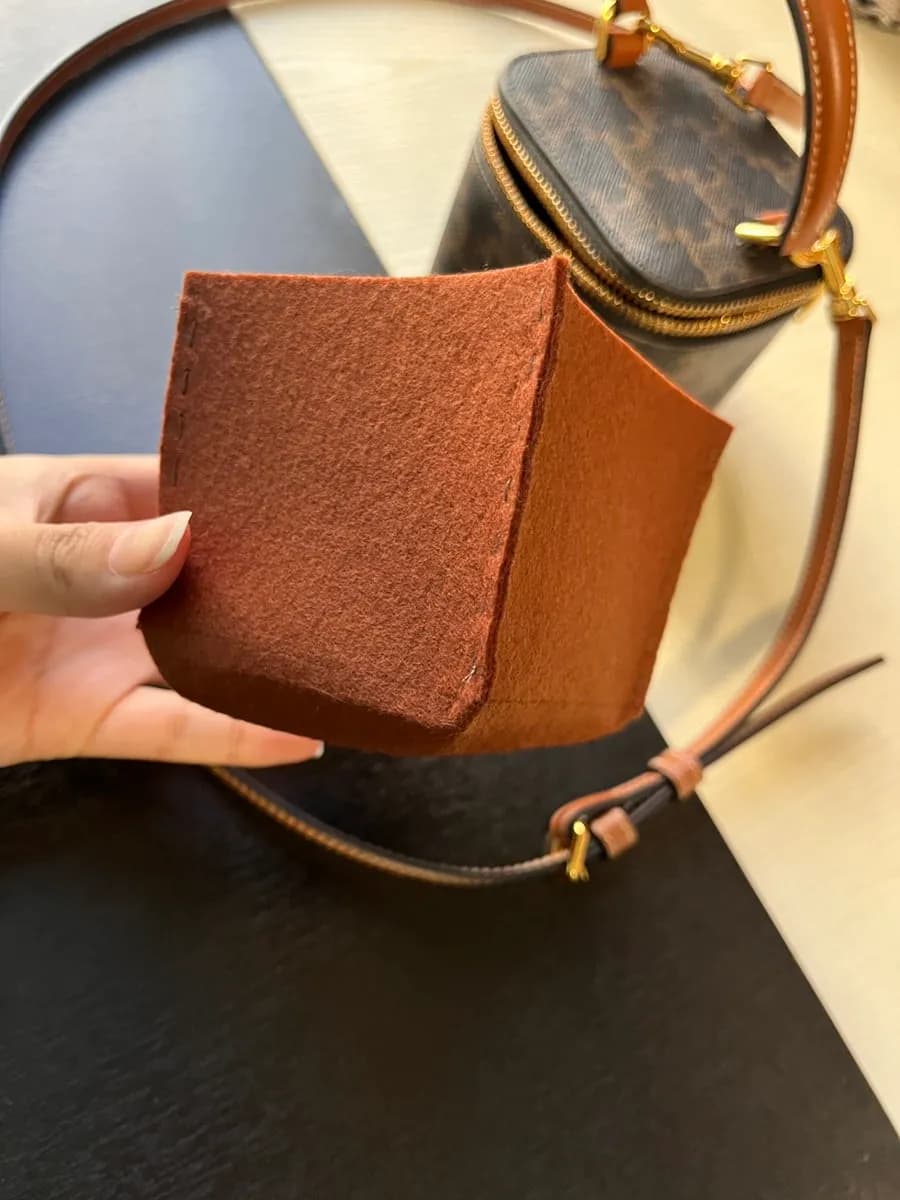
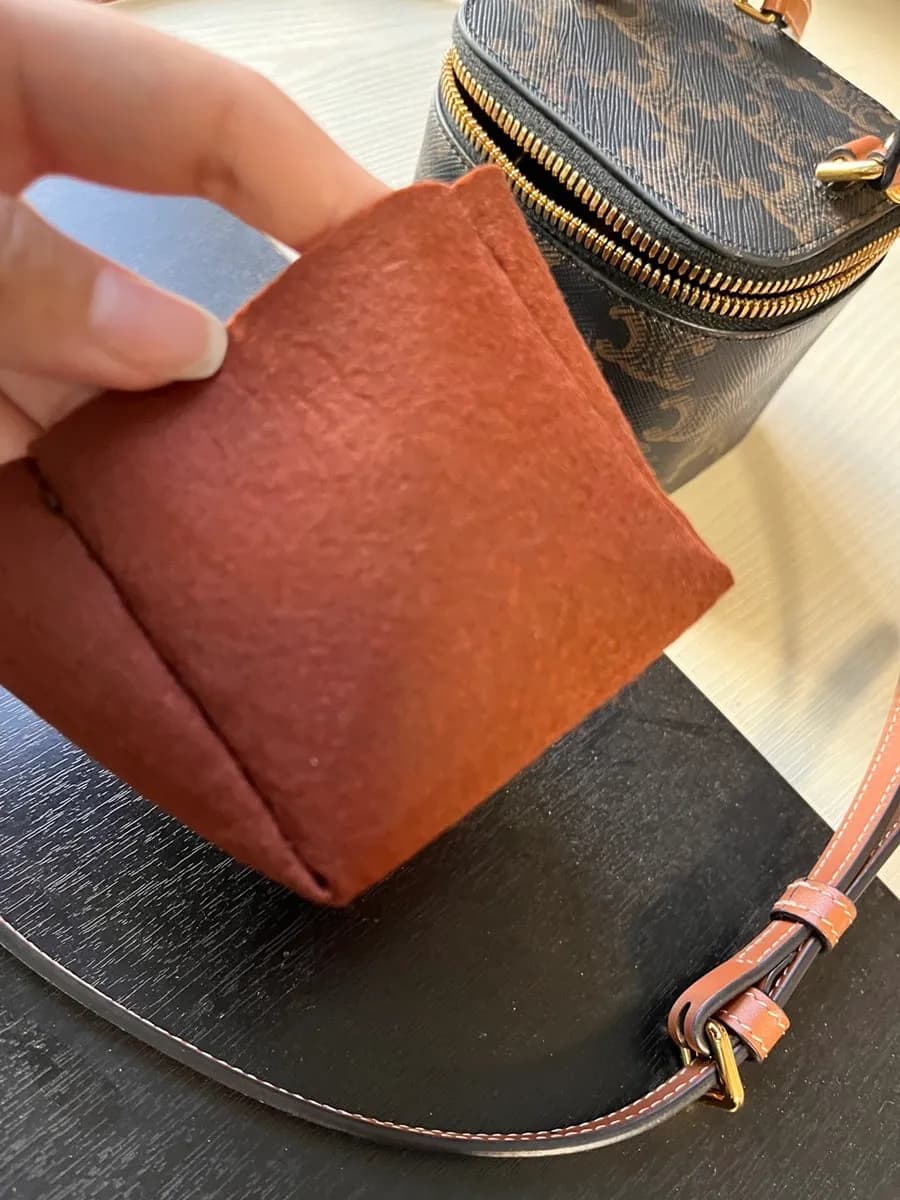
I finished it neatly. I had planned to turn it inside out so the sewing marks would not show, but once I turned it over, the shape looked too strange. So I decided to use it in the original shape.
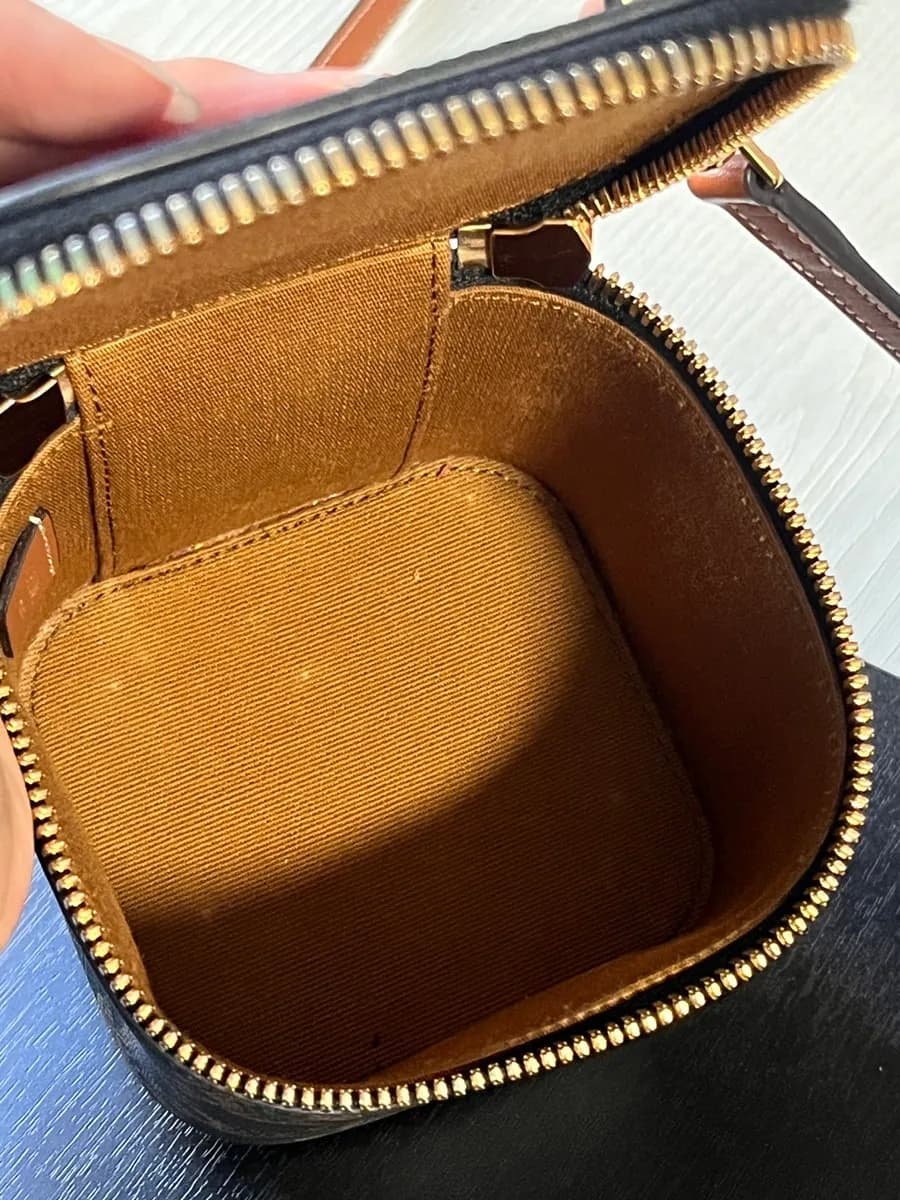
The bag had gotten quite dirty over 6 months. I regretted not making this earlier.
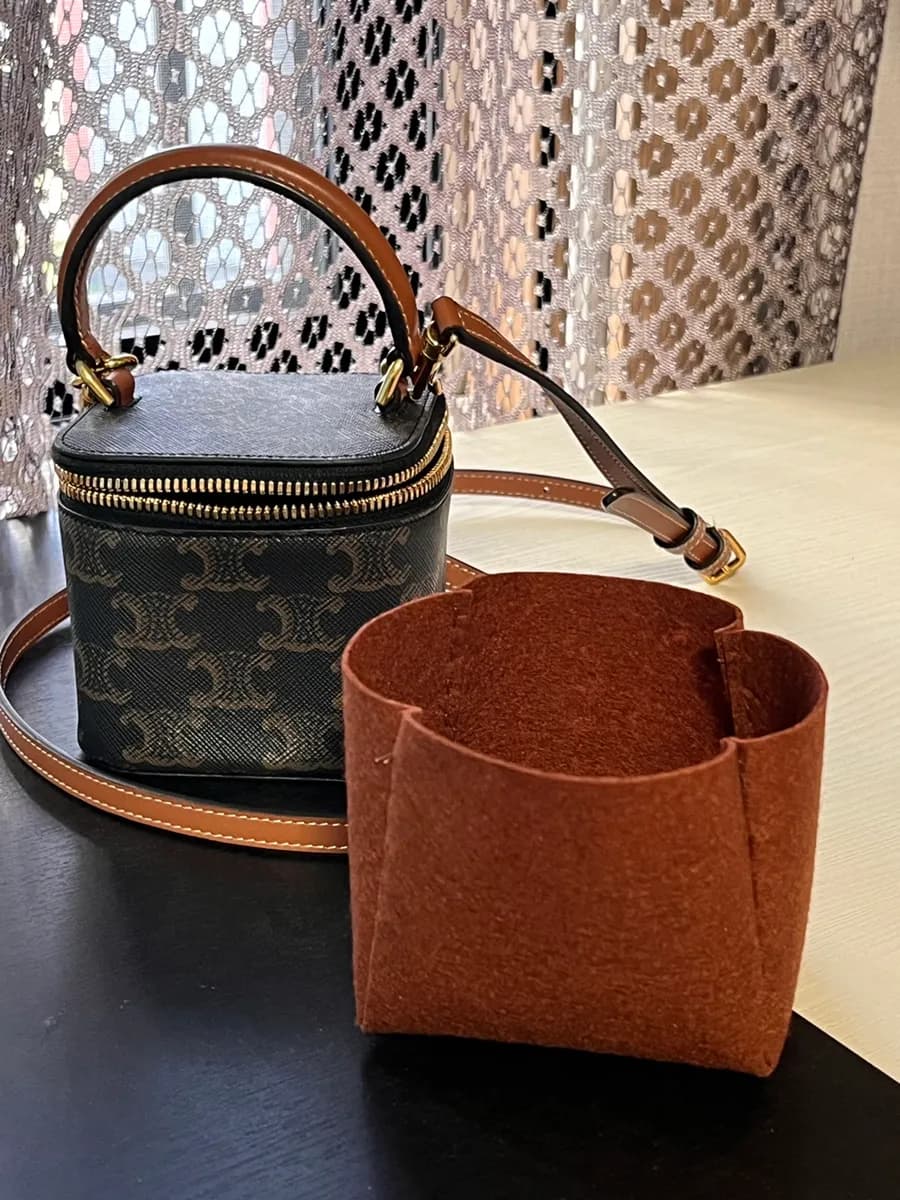
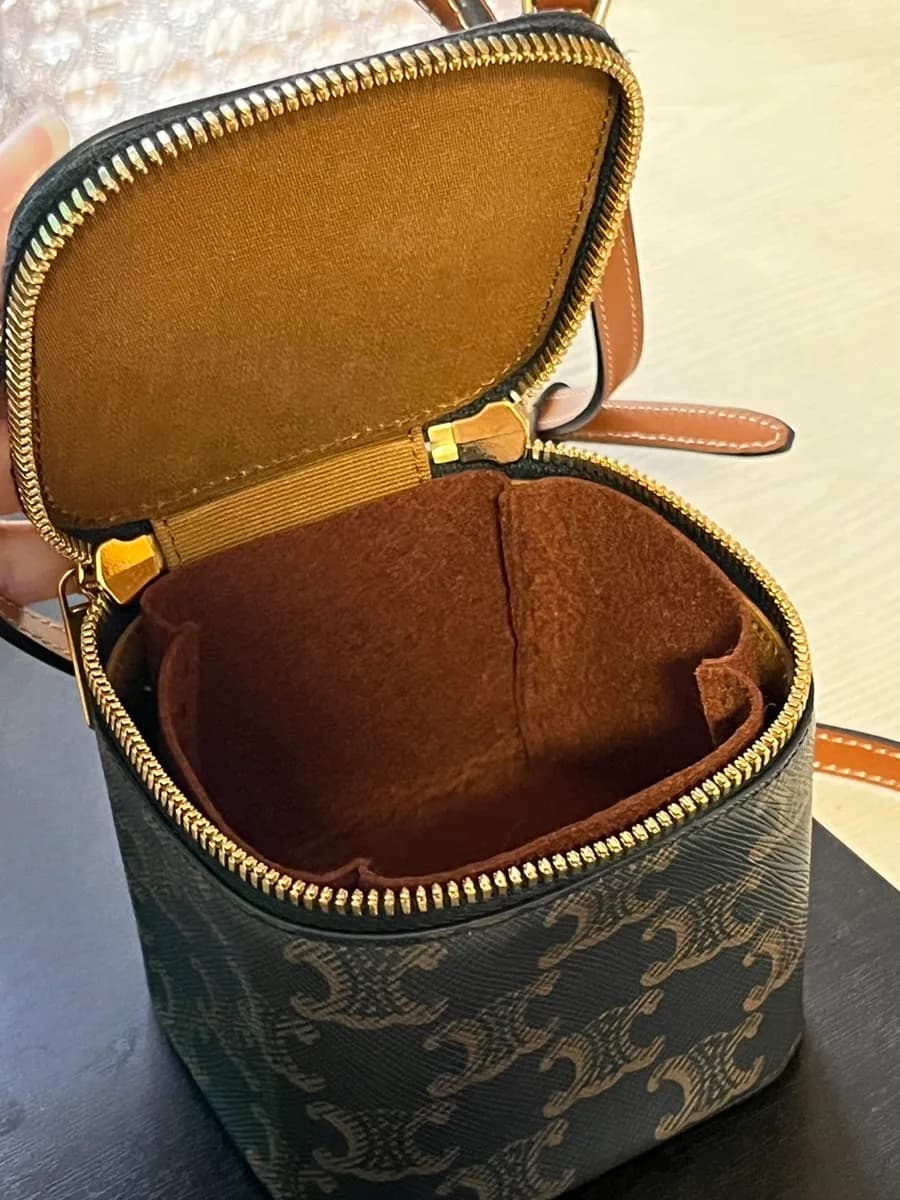
It fits perfectly inside, and the zipper closes without any problem. If you have a bag you want to care for carefully, making an inner bag is not hard, so I recommend using this post as a reference and keeping your bag clean. #CELINE #CELINEInnerBag #CELINEInnerBagDIY #InnerBagDIY #SamorgaInnerBag #LuxuryBagInnerBag
Planning a visit around this area? Save this review, compare nearby spots on REVIEW IN KOREA, and confirm hours, reservations, and parking before you go.
Frequently asked questions
What materials did the reviewer use for the CELINE inner bag DIY?
How long did the CELINE inner bag take to make?
How did the reviewer size the inner-bag pattern?
Why did the reviewer recommend felt instead of nonwoven fabric?
More content
- Uimat Malatang Near Myeonghak Station, Anyang: 24-Hour ReviewA personal review of Uimat Malatang, a clean 24-hour malatang spot directly by Myeonghak Station Exit 2 in Anyang, with parking support, unlimited rice, and customizable spice levels.09/23/2026

- Mungseokjip in Jongno 3-ga: Friday Wait and Korean BBQA personal review of Mungseokjip near Jongno 3-ga Station, covering its outdoor-style setting, Friday wait, Korean BBQ, and side dishes.09/23/2026
- Jeongipum Jjukkumi Gwangmyeong Branch 1: Spicy Octopus ReviewA personal review of Jeongipum Jjukkumi Gwangmyeong Branch 1, a spacious spot in AK Plaza Gwangmyeong for teppan jjukkumi, pork belly, and complimentary steamed egg.09/12/2026